With all the busyness of life lately, I've been slacking on getting my weekly menu done on time. Without a menu, I seem lost when it comes to making dinner which usually results in a couple hours of Tony and I going back and forth questioning each other.
"What's for dinner?"
"I don't care."
"What sounds good?"
"I don't know."
Eventually we end up making something, but by the time it is ready to eat, it's sometimes almost 10pm. Not a good thing when you're trying to watch your weight.
Something similar started happening tonight, but luckily I remembered I had most of the ingredients for a recipe that I've been wanting to try.
My mom found this recipe on Pinterest awhile back and suggested it to me. It was supposed to have bacon crumbled on top, but unfortunately I didn't have any. Even without the bacon though, this dish was delicious and extremely easy! (Not to mention super quick clean-up!)
No late night meal tonight. Now maybe I'll have time to get a menu together for next week. :)
Spray 4 sheets of aluminum foil with nonstick spray.
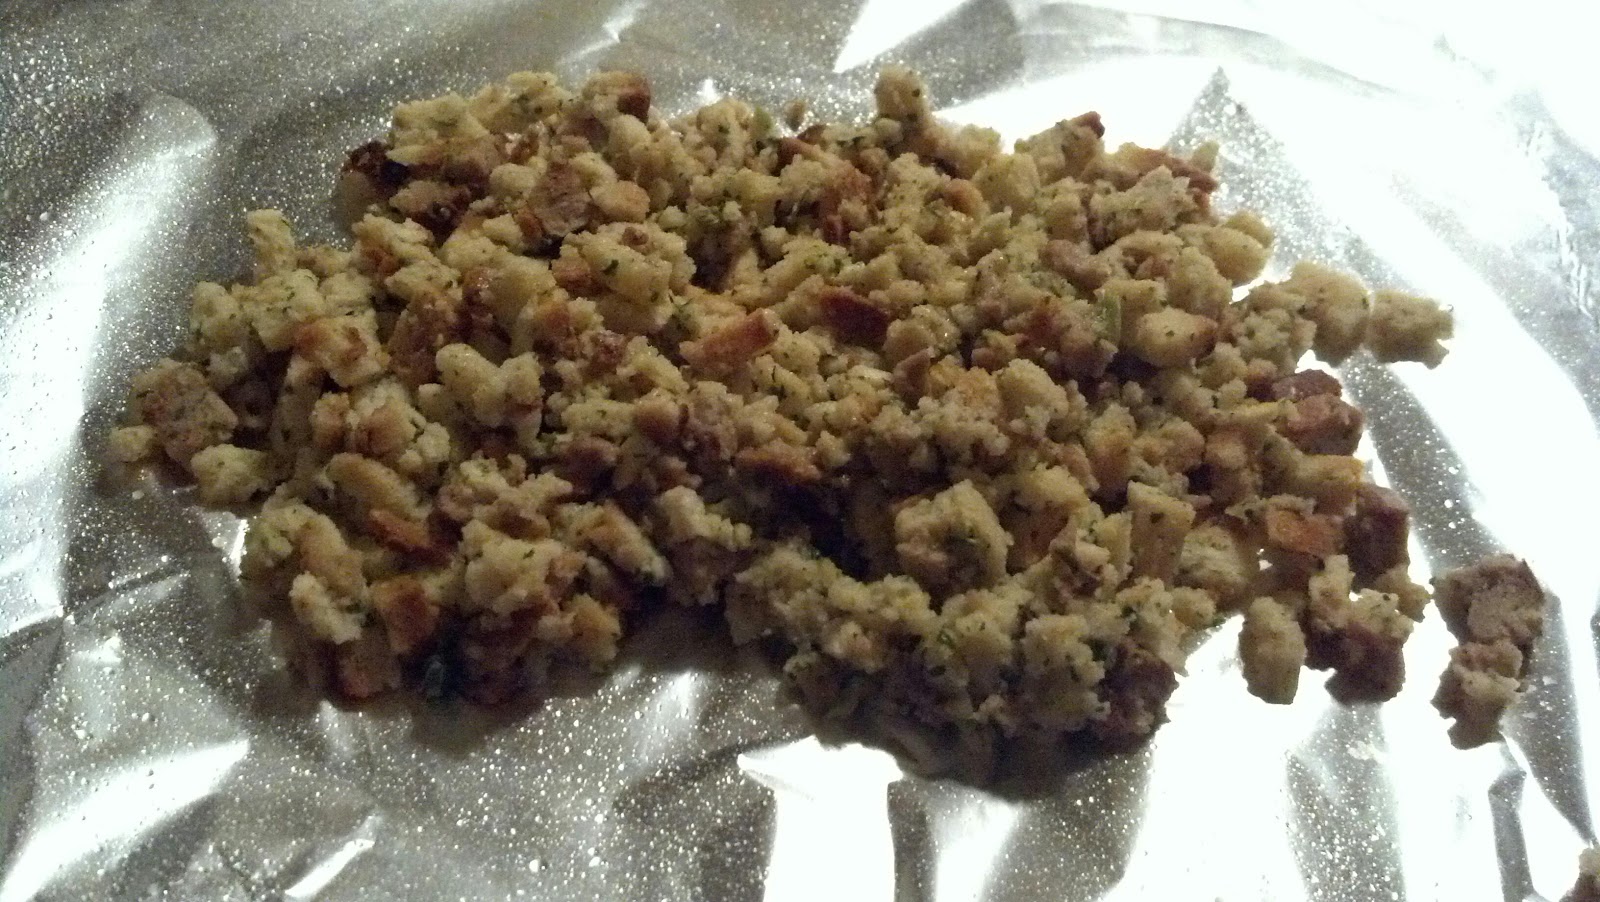
In a mixing bowl, combine stuffing mix and water.
Let the mix absorb the water, then divide between each piece of foil, placing in the center.
Place each chicken breast on the beds of stuffing.
Add broccoli.
Top with desired amount of cheese.
Squeeze approximately 1 Tbsp. ranch dressing on top.
Salt and pepper, to taste.
(You can also crumble cooked bacon on top at this point, if you have some.)
Fold each packet up and place on a baking sheet.
Bake at 400 degrees for approximately 45 minutes, or until chicken is cooked thoroughly.
Let rest for about 5 minutes before serving.
This chicken turns out so deliciously tender and juicy!
You won't regret trying this quick dish.
Thanks, Mom! :)
Ingredients
1 box stuffing mix (chicken flavor)
1 c. water
4 chicken breasts
about 2 c. broccoli (fresh or frozen)
shredded cheese (I had a pepper jack and colby mix)
ranch dressing
salt and pepper, to taste
Directions
Spray 4 sheets of aluminum foil with nonstick spray.
In a mixing bowl, combine stuffing mix and water. Let the mix absorb the water, then divide between each piece of foil, placing in the center.
Place each chicken breast on the bed of stuffing.
Add broccoli.
Top with desired amount of cheese.
Squeeze approximately 1 Tbsp. ranch dressing on top.
Salt and pepper, to taste.
Fold each packet up and place on a baking sheet.
Bake at 400 degrees for approximately 45 minutes, or until chicken is cooked thoroughly.
Let rest for about 5 minutes before serving.